Just a second! 🫷 If you are here, it means that you are a software developer.
So, you know that storage, networking, and domain management have a cost .
If you want to support this blog, please ensure that you have disabled the adblocker for this site. I configured Google AdSense to show as few ADS as possible – I don’t want to bother you with lots of ads, but I still need to add some to pay for the resources for my site.
Thank you for your understanding. – Davide
The problem with HttpClient
When you create lots of HttpClient instances, you may incur Socket Exhaustion.
This happens because sockets are a finite resource, and they are not released exactly when you ‘Dispose’ them, but a bit later. So, when you create lots of clients, you may terminate the available sockets.
Even with using statements you may end up with Socket Exhaustion.
classResourceChecker{
publicasync Task<bool> ResourceExists(string url)
{
using (HttpClient client = new HttpClient())
{
var response = await client.GetAsync(url);
return response.IsSuccessStatusCode;
}
}
}
Actually, the real issue lies in the disposal of HttpMessageHandler instances. With simple HttpClient objects, you have no control over them.
Introducing HttpClientFactory
The HttpClientFactory class creates HttpClient instances for you.
The purpose of IHttpClientFactory is to solve that issue with HttpMessageHandler.
An interesting feature of IHttpClientFactory is that you can customize it with some general configurations that will be applied to all the HttpClient instances generated in a certain way. For instance, you can define HTTP Headers, Base URL, and other properties in a single point, and have those properties applied everywhere.
How to add it to .NET Core APIs or Websites
How can you use HttpClientFactory in your .NET projects?
If you have the Startup class, you can simply add an instruction to the ConfigureServices method:
When building the basement studio site, we wanted to add 3D characters without compromising performance. We used instancing to render all the characters simultaneously. This post introduces instances and how to use them with React Three Fiber.
Introduction
Instancing is a performance optimization that lets you render many objects that share the same geometry and material simultaneously. If you have to render a forest, you’d need tons of trees, rocks, and grass. If they share the same base mesh and material, you can render all of them in a single draw call.
A draw call is a command from the CPU to the GPU to draw something, like a mesh. Each unique geometry or material usually needs its own call. Too many draw calls hurt performance. Instancing reduces that by batching many copies into one.
Basic instancing
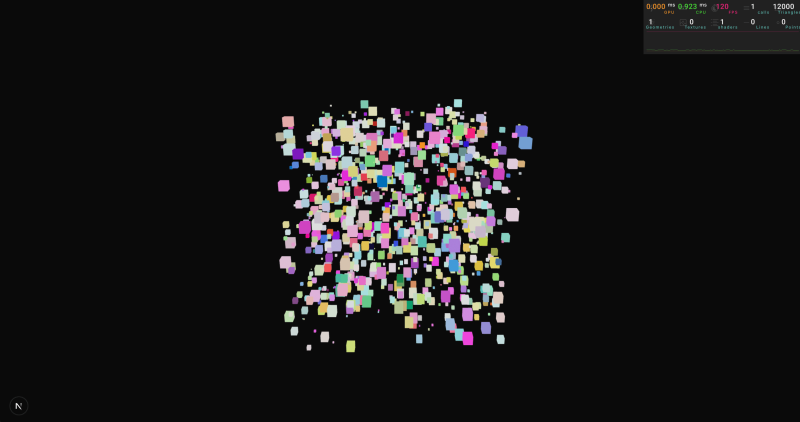
As an example, let’s start by rendering a thousand boxes in a traditional way, and let’s loop over an array and generate some random boxes:
If we add a performance monitor to it, we’ll notice that the number of “calls” matches our boxCount.
A quick way to implement instances in our project is to use drei/instances.
The Instances component acts as a provider; it needs a geometry and materials as children that will be used each time we add an instance to our scene.
The Instance component will place one of those instances in a particular position/rotation/scale. Every Instance will be rendered simultaneously, using the geometry and material configured on the provider.
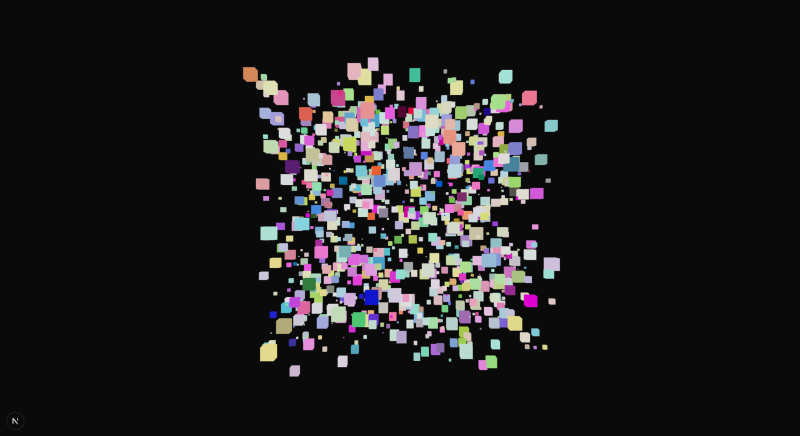
What is happening here? We are sending the geometry of our box and the material just once to the GPU, and ordering that it should reuse the same data a thousand times, so all boxes are drawn simultaneously.
Notice that we can have multiple colors even though they use the same material because Three.js supports this. However, other properties, like the map, should be the same because all instances share the exact same material.
We’ll see how we can hack Three.js to support multiple maps later in the article.
Having multiple sets of instances
If we are rendering a forest, we may need different instances, one for trees, another for rocks, and one for grass. However, the example from before only supports one instance in its provider. How can we handle that?
The creteInstnace() function from drei allows us to create multiple instances. It returns two React components, the first one a provider that will set up our instance, the second, a component that we can use to position one instance in our scene.
Until now, all the examples have used Three.js’ built-in materials to add our meshes to the scene, but sometimes we need to create our own materials. How can we add support for instances to our shaders?
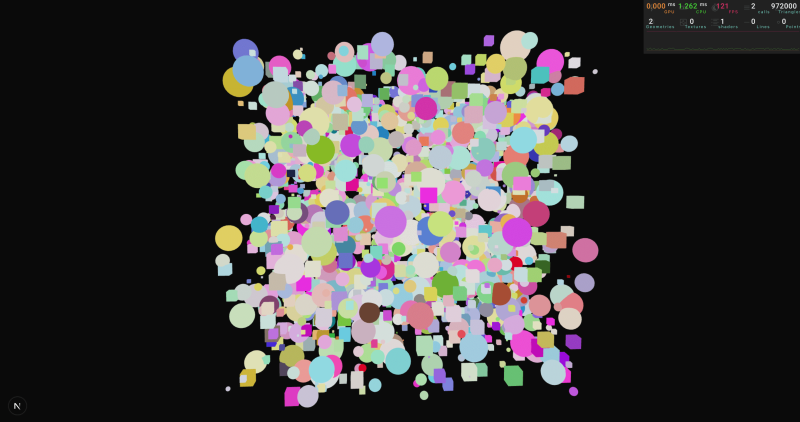
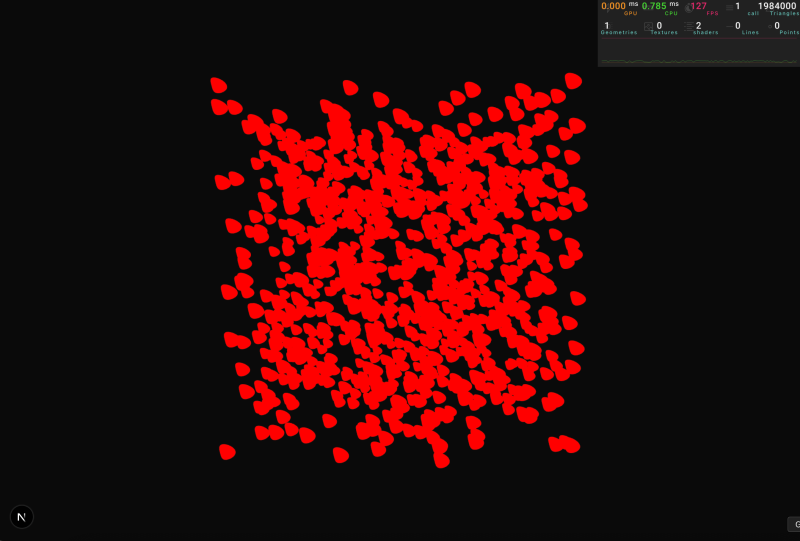
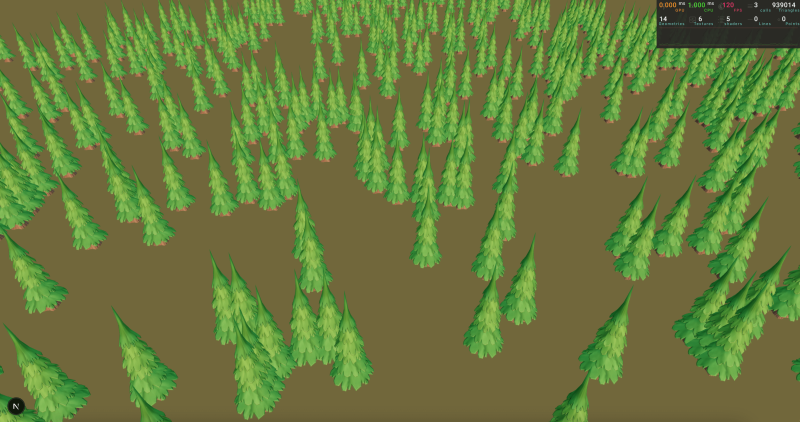
The code runs successfully, but all spheres are in the same place, even though we added different positions.
This is happening because when we calculated the position of each vertex in the vertexShader, we returned the same position for all vertices, all these attributes are the same for all spheres, so they end up in the same spot:
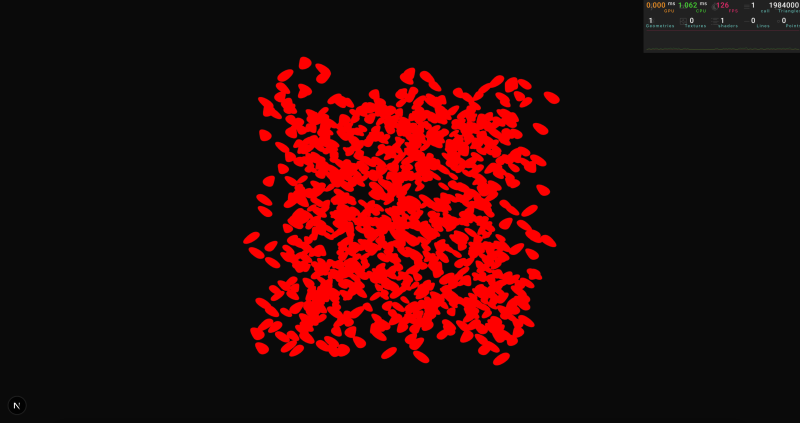
We managed to render all the blobs in different positions, but since the uniforms are shared across all instances, they all end up having the same animation.
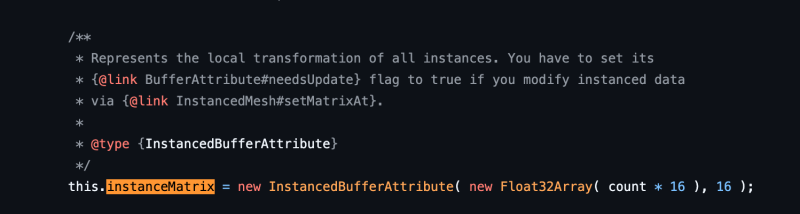
To solve this issue, we need a way to provide custom information for each instance. We actually did this before, when we used the instanceMatrix to move each instance to its corresponding location. Let’s debug the magic behind instanceMatrix, so we can learn how we can create own instanced attributes.
Taking a look at the implementation of instancedMatrix we can see that it is using something called InstancedAttribute:
import { useGLTF } from "@react-three/drei"
import * as THREE from "three"
import { GLTF } from "three/examples/jsm/Addons.js"

// I always like to type the models so that they are safer to work with
interface TreeGltf extends GLTF {
  nodes: {
    tree_low001_StylizedTree_0: THREE.Mesh<
      THREE.BufferGeometry,
      THREE.MeshStandardMaterial
    >
  }
}

function Scene() {

  // Load the model
  const { nodes } = useGLTF(
    "/stylized_pine_tree_tree.glb"
  ) as unknown as TreeGltf

  return (
    <group>
      {/* add one tree to our scene */ }
      <mesh
        scale={0.02}
        geometry={nodes.tree_low001_StylizedTree_0.geometry}
        material={nodes.tree_low001_StylizedTree_0.material}
      />
    </group>
  )
}
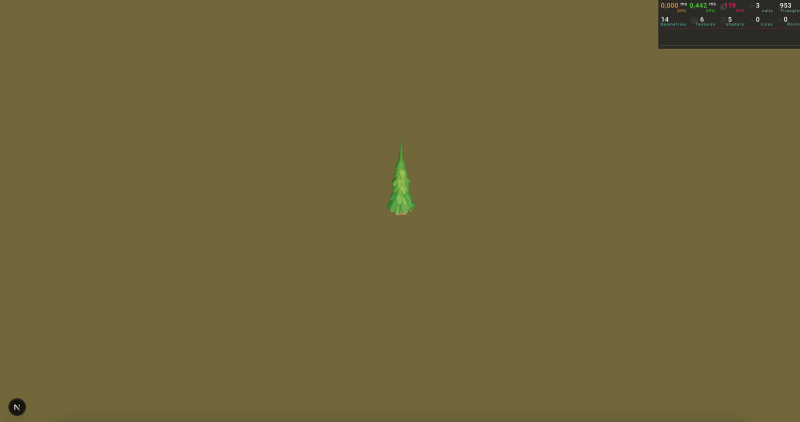
(I added lights and a ground in a separate file.)
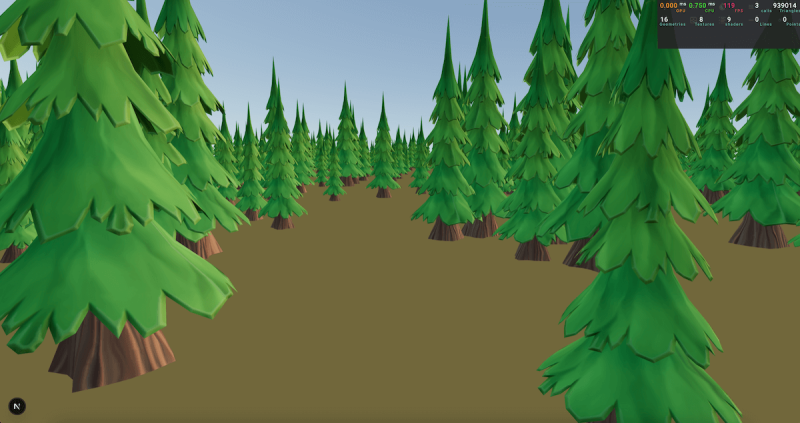
Now that we have one tree, let’s apply instancing.
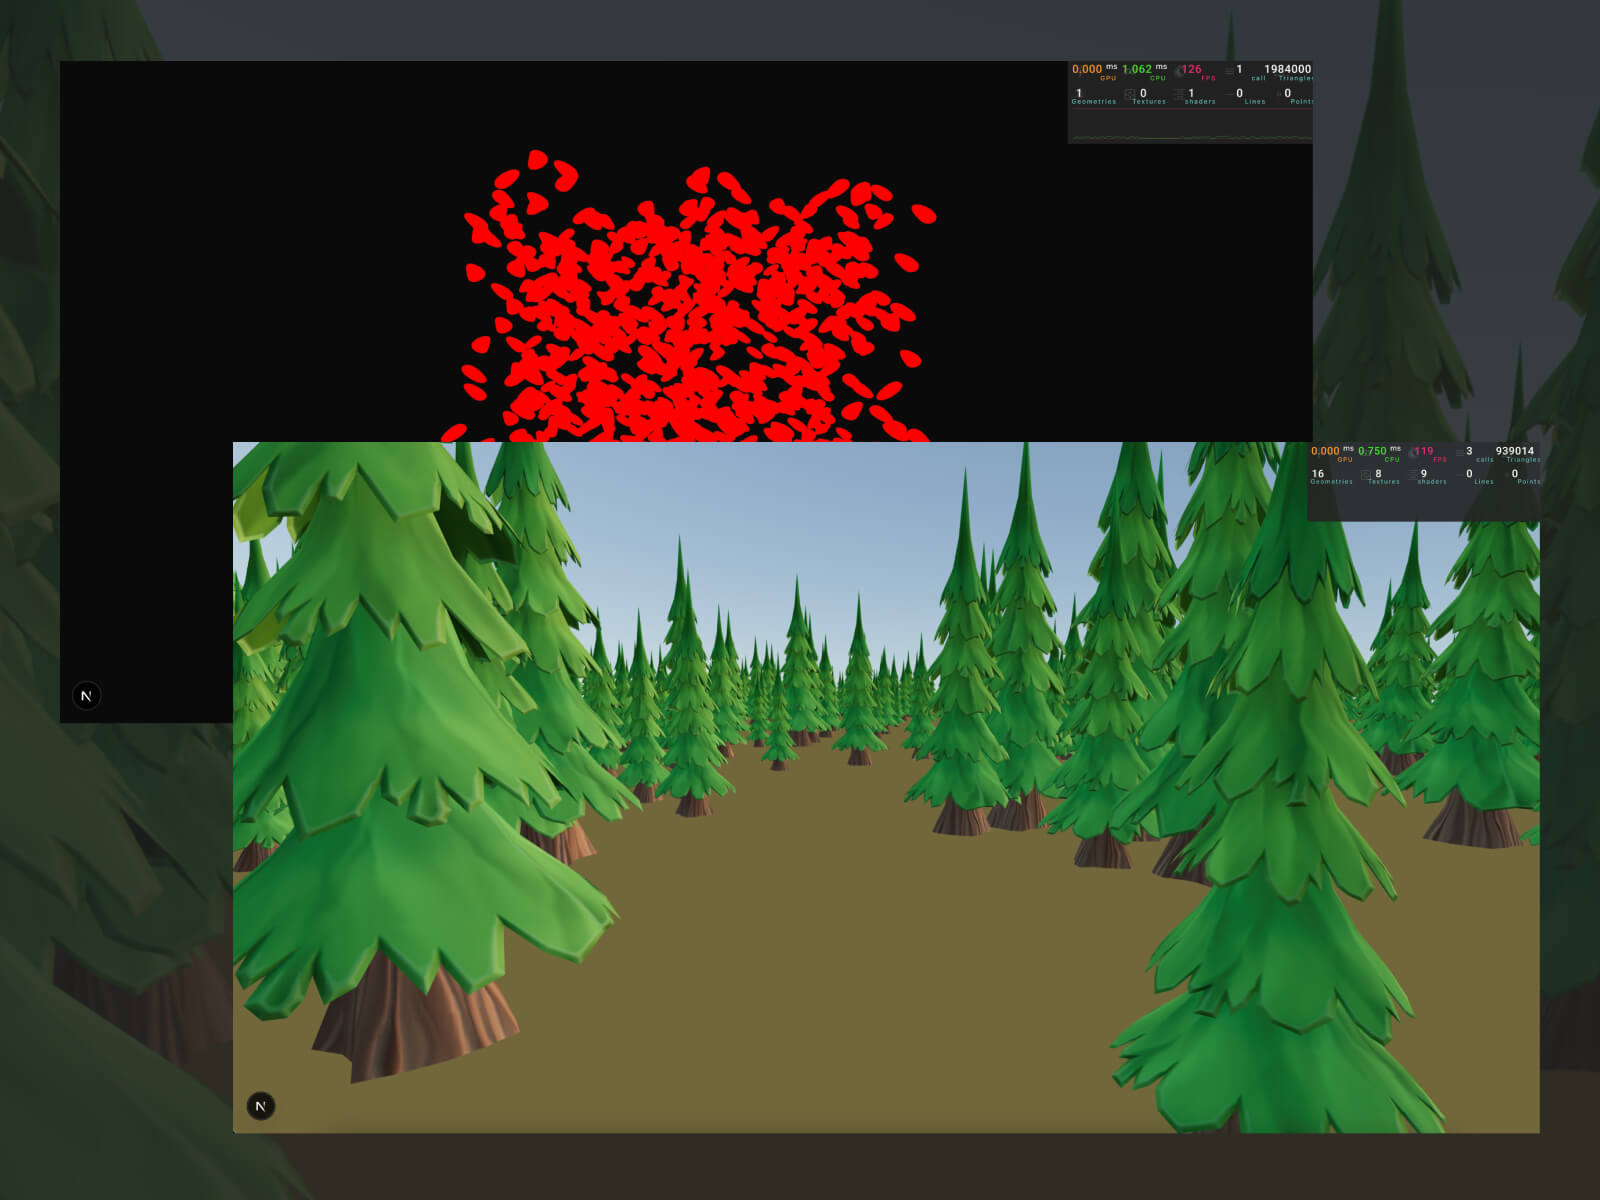
Our entire forest is being rendered in only three draw calls: one for the skybox, another one for the ground plane, and a third one with all the trees.
To make things more interesting, we can vary the height and rotation of each tree:
There are some topics that I didn’t cover in this article, but I think they are worth mentioning:
Batched Meshes: Now, we can render one geometry multiple times, but using a batched mesh will allow you to render different geometries at the same time, sharing the same material. This way, you are not limited to rendering one tree geometry; you can vary the shape of each one.
Skeletons: They are not currently supported with instancing, to create the latest basement.studio site we managed to hack our own implementation, I invite you to read our implementation there.
Morphing with batched mesh: Morphing is supported with instances but not with batched meshes. If you want to implement it yourself, I’d suggest you read these notes.