
When the conversation turns to artificial intelligence, many assume that design is one of the professions most at risk of automation. But Shopify’s latest move sends a very different message. The e-commerce giant has revived the role of Chief Design Officer earlier this year and acquired Brooklyn-based creative studio Molly — signaling that, far from being diminished, design will sit at the center of its AI strategy.
At the helm is Carl Rivera, Shopify’s Chief Design Officer, who believes this moment is an inflection point not just for the company, but for the design industry as a whole.
“At a time when the market is saying maybe you don’t need designers anymore,” Rivera told me, “we’re saying the opposite. They’ve never been more important than they are right now.”
A Statement of Intent
Shopify has a long history of treating design as a strategic advantage. In its early days, co-founder Daniel Weinand held the title of Chief Design Officer and helped shape Shopify’s user-first approach. But when Weinand left the company, the role disappeared — until now.
Bringing it back, Rivera argues, is both symbolic and practical. “It’s really interesting to consider that the moment Shopify decides to reinstate the Chief Design Officer role is at the dawn of AI,” he said. “That’s not a coincidence.”
For Rivera, design is the best tool for navigating uncertainty. “When you face ambiguity and don’t know where the world is going, there’s no better way to imagine that future than through design,” he explained. “Design turns abstract ideas into something you can hold and touch, so everyone can align on the same vision.”
Why Molly?
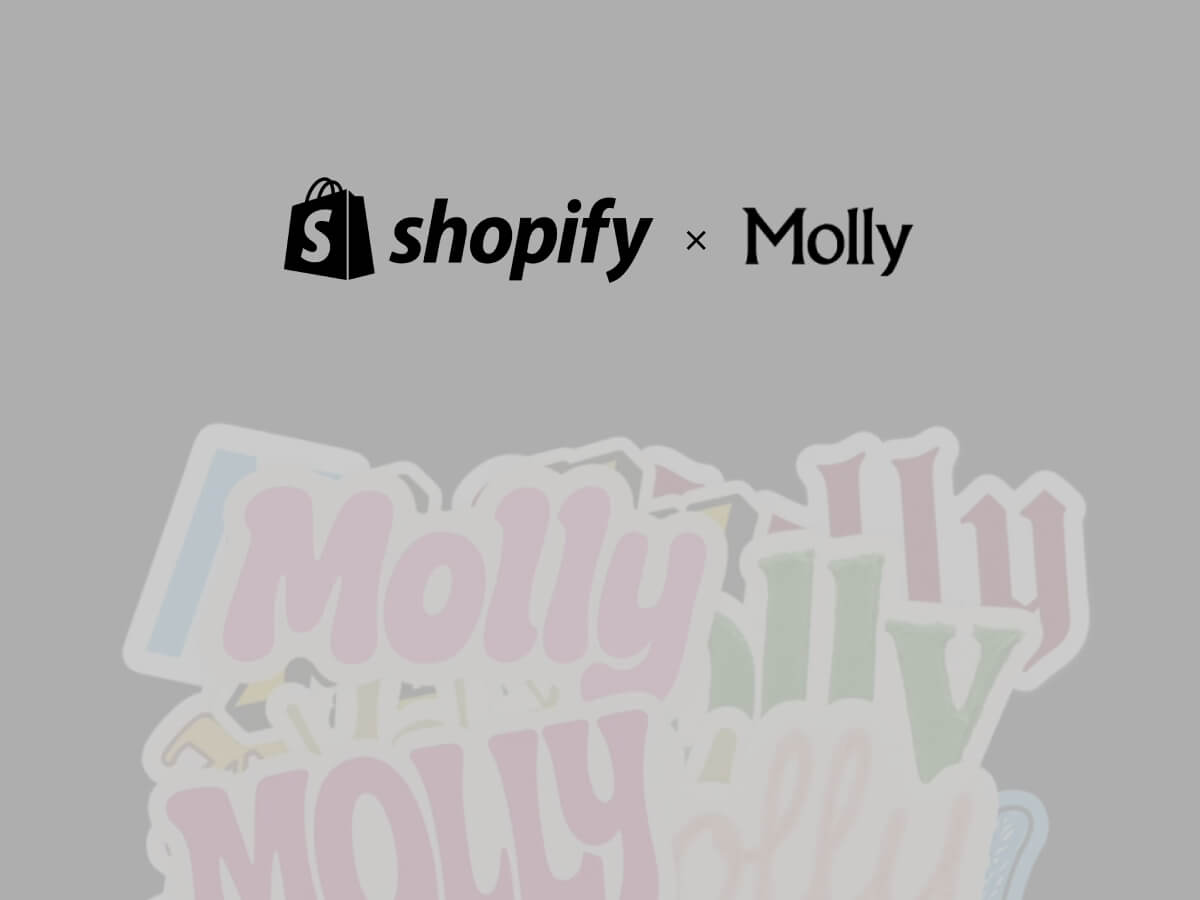
Central to Shopify’s announcement is the acquisition of Molly, the Brooklyn-based design studio co-founded by Jaytel and Marvin Schwaibold. Known for their experimental but disciplined approach, Molly has collaborated with Shopify in the past.
Rivera recalled how the deal came together almost organically. “I was having dinner with Marvin, and we were talking about the future I wanted to build at Shopify. The alignment was immediate. It was like — of course we should do this together. We could go faster, go further, and it would be more fun.”
The studio will operate as an internal agency, but Rivera is careful to stress that Molly won’t exist in isolation. “What attracted me to Molly is not just their output, but their culture,” he said. “That culture is exactly the one we want to spread across Shopify. They’ll be a cultural pillar that helps manifest the ways of working we want everyone to embrace.”
Importantly, the internal agency won’t replace Shopify’s existing design teams. Instead, it will augment them in moments that call for speed, experimentation, or tackling problems shaped by AI. “If something changes in the market and we need to respond quickly, Molly can embed with a team for a few months, supercharging their generative process,” Rivera explained.
Redefining AI + Design
Rivera is energized by the possibilities of AI and how it can transform the way people interact with technology. While today’s implementations often serve as early steps in that journey, he believes the real opportunity lies in what comes next.
He acknowledges that many current products still treat AI as an add-on. “You have the product, which looks the same as it has for ten years, and then a little panel next to it that says AI. That can’t be the future,” Rivera said.
For him, these early patterns are just the beginning — a foundation to build on. He envisions AI woven deeply into user experiences, reshaping interaction patterns themselves. “If AI had existed ten years ago, I don’t believe products would look the way they do today. We need to move beyond chat as the default interface and create experiences where AI feels native, invisible, and context-aware.”
That, he argues, is where design proves indispensable. “It’s designers who will define the interaction patterns of AI in commerce. This is our role: to make the abstract real, to imagine the future, and to bring it into the present.”
Measuring Success: Subjective by Design
In a world obsessed with metrics, Rivera offers a refreshingly contrarian view of how design success should be measured.
“Designers have often felt insecure, so they chase numbers to prove their value,” he said. “But to me, the most important measure isn’t a KPI. It’s whether the work feels right. Are we proud of it? Did it accelerate our vision? Does it make the product more delightful? I’m comfortable leaning on instinct.”
That doesn’t mean ignoring business outcomes. But Rivera wants his teams to be guided first by craft, ambition, and impact on user experience — not by dashboards.
Advice for Designers in an AI Era
For independent designers and studio owners — many of whom worry that AI might disrupt their livelihoods — Rivera offers encouragement.
He believes the most valuable skill today is adaptability: “The best trait a designer can have right now is the ability to quickly learn a new problem and generate many different options. That’s what the agency world trains you to do, and it’s exactly what big companies like Shopify need.”
In fact, Rivera sees agency and freelance experience as increasingly attractive in large-scale design hiring. “People who have jumped between many problems quickly bring a unique skill set. That adaptability is crucial when technology and user expectations are changing so fast.”
The Ambition at Shopify
Rivera is clear about his mandate. He sums it up in three goals:
- Build the place where the world’s best designers choose to work.
- Enable them to do the best work of their careers.
- Define the future interaction patterns of AI in commerce.
It’s an ambitious vision, but one he believes is within reach. “Ambition begets ambition,” he told his team in a recent message. “By raising expectations for ourselves and each other, we’ll attract people who want that environment, and they’ll keep raising the bar.”
For Shopify, investing in design now goes beyond aesthetics. It is about shaping the future of commerce itself. As Rivera put it:
“We don’t need to dream up sci-fi scenarios. The future is already here — just unevenly distributed. Our job is to bring it into the hands of entrepreneurs and make it usable for everyone.”
Borrowing from William Gibson’s famous line, Rivera frames Shopify’s bet on Molly and design as a way of redistributing that future, through creativity, craft, and culture.