
Spline is a great tool for creating interactive 3D scenes that are very easy to integrate into the web. To build impressive interactions here, you don’t need to know 3D or coding, and this is the main advantage of Spline.
In Spline, you can already create animations using events and states, but recently, a new tool was added: Timeline. It can help you bring the quality of your animations to a new level.
In this tutorial, we’ll use a simple example to explore what the Timeline tool is, how it works (and how it differs from States), and how to export and integrate your final animation on the web.

What is a Timeline
Timeline is a tool that has existed almost as long as animation itself. It is used in various programs for motion design and 3D graphics.
The reason is that Timeline is a very universal way to animate. And it is based only on two main parts:
- An object (or more exactly, its property)
- A keyframe
With a keyframe, we attach some value of an object’s property (for example, position) to a specific moment in time.
The simplest example is a moving object. Let’s say we want our object to move from left to right in 1 second. We place the first keyframe at the start, where the object is to the left. Then we set the second keyframe at first seconds, and move the object to point B. This way, for the second keyframe, we say: “at this moment, the property should have this value.”
That’s it. Keyframes are placed in the moments where the result should happen. And everything that happens between keyframes is the animation itself.
Important: to animate an object with Timeline you need at least two keyframes with different values of the same property.
Timeline vs States
For those who have already animated objects in Spline, you know that animations are usually made with States (and different Events as triggers). At first, it may look similar: with States, you set different properties for an object (for example, position), and then you define the time interval between these states.
But the big difference between Timeline and States is this: when animation happens between states, all properties change at the same time. So if your sphere should move, change size, and change color, it will do all of that at once. There is no way to make the sphere first start moving, then, in the middle of the animation, change size, and only at the end change color.
And here Timeline comes to the rescue – because with Timeline, all these properties can change independently, with different speeds, and not depending on each other.
The second big advantage of Timeline is that it’s simply much more convenient when you need to animate several objects in one scene.
Timeline in Spline
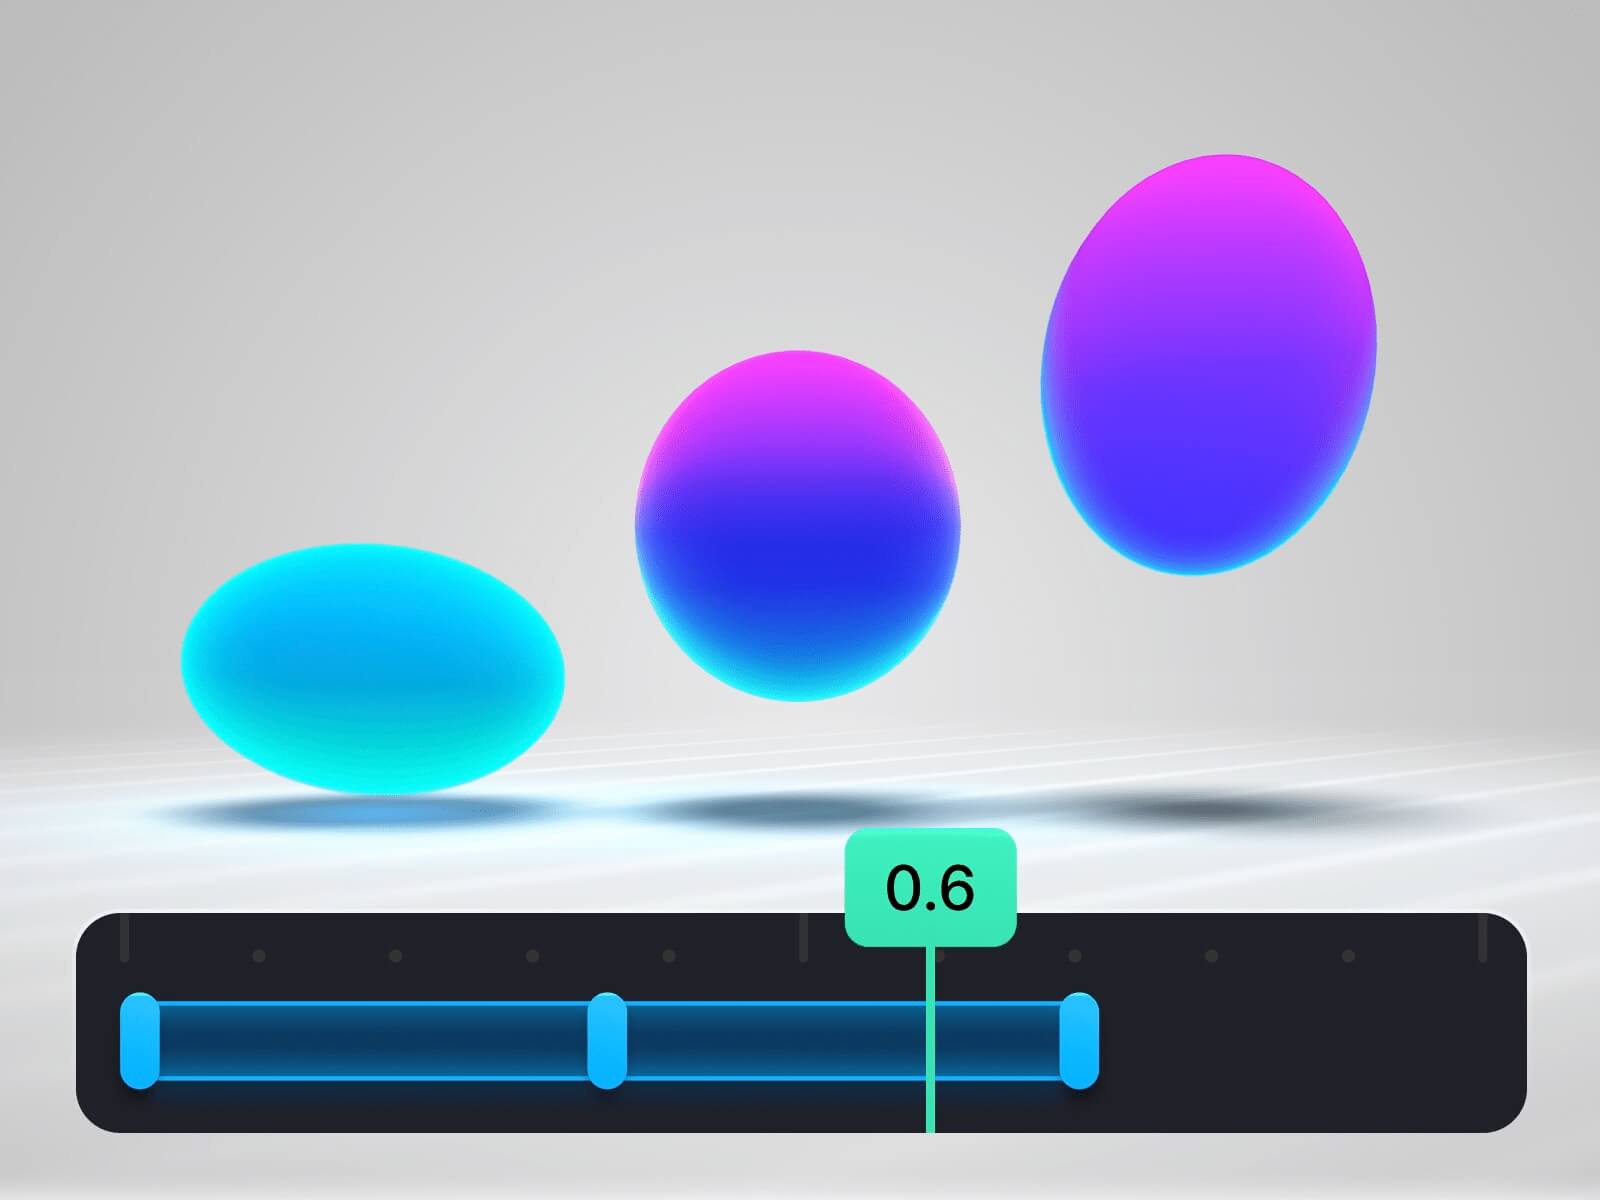
Now, let’s create a simple animation in Spline using Timeline and see how it works. We will make a classic animation that is often used to learn the basics of animation — a bouncing ball.
In the end, you should have an animation that looks like this:
If you look closely, it’s not just a bouncing ball – it also deforms every time it hits the floor. Creating such an animation with States would be problematic and much less flexible.
To save time, I prepared a Spline file with the starting object. Just follow this link and duplicate this scene: Link to spline scene
Step 1: Activating Timeline
Activate the Timeline mode. To do this, switch the toggle on the top toolbar. Once you enable Timeline, you will see a large panel appear at the bottom.
It’s important to understand that Timeline is a special mode. When it’s active, most of the changes you make will stay inside this mode. So my advice is: turn off Timeline if you want to make changes to the object or the scene that should not be animated. For example, editing the material of an object.
At the same time, one big advantage of Timeline is that you can see the animation directly in the viewport and make changes while it is playing.
Step 2: Applying animation
Select our ball object, and in the Timeline panel at the bottom, look for the button +Animate
When you want to animate an object with Timeline, you first select it and then choose what property to animate from the list. Almost all objects have the same set of properties available — position, rotation, scale, material, and so on. 3D path, camera, and cloner have a few additional options.
In our case, we want to make the object “bounce up and down,” so we will choose to animate the position.
Step 3: Setting up
Let’s take a closer look at the Timeline window and what it is made of.
On the left, we see a list of timelines ¹ – here you can create multiple versions of animations with the same scene. Timelines can be created, deleted, and renamed.
The rest of the window is the actual Timeline. It has:
- the time ruler ²
- the Playhead ³ (to quickly travel across your timeline)
- the property track ⁴ (in our case, position)
- the list of properties ⁵ (this can be several properties of one object, or multiple objects at the same time)
- and some controls:
- Play ⁶(to preview the animation, not the same Play button in the top toolbar)
- S ⁷ – timeline length (by default it is 5 sec)
- The Loop switch ⁸ (to play animation continuously)
- The Graph Editor toggle ⁹ (we will talk about this later)
Also, you can manage the size of the timeline window, make it smaller or bigger.

When we added position animation to our ball, we got a blue “bar.” At the beginning and at the end of this bar, there are keyframes. Our goal now is to make three positions for the ball: bottom (on the floor), top, and bottom again.
This means we will need 3 keyframes.
Select the first keyframe and make sure all values in the Position field are set to 0.
Move the playhead to the middle of the bar (0.5 sec on the ruler). At this moment, the ball should be at the top. So we need to tell Spline where it should be. You can move the ball manually or just type the values 0, 150, 0 in the Position fields. As soon as you change a property, a new keyframe will appear.
Then, select the last keyframe, and ensure that all values are set to 0.
Click through all 3 keyframes just to be sure that all values are set correctly; sometimes you can miss pressing enter.
Remember, these three input fields in the Position property are the X, Y, and Z coordinates of the object. They match the values you see in the right properties panel. And now, we are moving our object to the top (according to the Y axis).
And if you set the timeline length to 1 sec and turn on Loop, and then press Play (or just hit spacebar), the ball will bounce without a pause.
Step 4: The Graph Editor
A ball that only moves up and down doesn’t really look like bouncing. We need to add realism, and that realism comes from the fact that when a ball bounces, it moves at different speeds at different moments. To control this speed, we need the Graph Editor.
Switch the Timeline into Graph Editor mode, and you will see a graph.
You can zoom in on the area with the graph if it seems too small to work in. Try the pinch gesture if you work from a laptop, or cmd (Ctrl) + scroll mouse up/down.
There is nothing complicated here. What we see is simply a graph of how the property value changes over time. In our case, the Y position (the green curve) smoothly goes from the start to the middle, and from the middle to the end. This means our ball smoothly goes up, then slowly stops at the top, then smoothly accelerates down, and finally slowly stops at the bottom.
But in real life, when a ball hits the ground, it suddenly slows down on impact, and then quickly accelerates upwards. We need to show this on the graph by adjusting the curve handles (similar to drawing curves with the Pen Tool).
Every dot in this graph represents a keyframe, so technically, you can fine-tune your animation more accurately by moving these dots and adjusting the curves.
In the end, the curve should look something like in the video.
Step 5: Final touches
Our ball is bouncing more realistically now, but for a perfect result, it should also deform on impact (squash). To do this, we need to add another animation property to the Timeline – Scale.
Turn off the Graph Editor if you are still in this mode. Make sure the ball is selected. Press Animate and choose Scale.
You will immediately see a new track for the scale values. On the first keyframe, the values are 1, 1, 1. But since our animation actually starts at the moment when the ball is already bouncing off the ground, it should be squashed at this point. So let’s set the values to 1, 0.7, 1.
Now the ball looks squashed. Let’s also make sure that at the end of the animation, it goes back to its normal form. So on the second keyframe, set the scale values back to 1, 1, 1.
Then, move this keframe to 0.5sec.
That’s it, now the ball bounces and deforms when it hits the ground. Try experimenting with the graph of the Scale property — changing it will show you how the animation can look different.
Another advantage of Timeline is the overall animation speed. For example, if we don’t like that our ball is bouncing too fast and we want to show it more like in slow motion, we can simply stretch the main animation bar to increase (or decrease) its duration. This way, all the keyframes are evenly scaled along the timeline.
Preview and Export
Along with the Play button in the timeline, there’s also a Play button in the top toolbar to preview the whole scene. But if you click it at first, nothing happens – that’s because you need to create an event that will trigger the Timeline animation.
For example, while the Ball object is selected, create a Start event, and in the Actions list choose Timeline Animation. Don’t forget to set the Loop parameter to Infinite if you want your animation to play without stopping.
There are also different ways to export this animation.
If you want to integrate the animation into a website, first decide how it should start: automatically, on hover over the ball, or on click. Be sure to set up the Event that will trigger the Timeline. In our case, it’s set to Start. After that, just go to the Export window and pick the integration method that works best for you. And don’t forget to press the ‘’Update…” button when you have some edits done.
☝️ Remember that different platforms like Framer, Wix, Webflow, and others may require different versions of the embed code. You can find what works with what in the Spline documentation.
If you want to save it as a video, I recommend using the Video tab in the Export window. Here you can select your timeline, and the duration of the video will match the length of your timeline (although you can make it longer if needed). This is especially useful if you want to create seamless loops.
Experiment by adding more properties to your timeline — try animating rotation, or even add a camera and animate its position. Play around with styles and colors, and you might discover something unexpected.
Or, you can take a look at my final project and explore what other objects and properties I have animated using Timeline
I’d love to see what you come up with — so feel free to share your own results! And remember: the more you practice, the more natural Timeline (and animation in general) will feel.
If you enjoyed this tutorial and want to go deeper into Spline and the basics of Web3D, you can check out my Spline Design Course. As a small bonus, you can use the promo code “codrops” to get 50% off.